Bonsoir !
La semaine dernière, sur un forum, une membre m'a demandé conseil pour réussir à dessiner une belle french manucure. Et oui, les french c'est beau, distingué, fin, mais c'est aussi difficile, dangereux (risque de mettre du vernis partout), et, je l'avoue même périlleux.
Ce serait sans compter sur Croush, qui a découvert il y a un peu plus d'un an comment dessiner de joli sourires sans déborder ou devoir se mettre aux guides. Bon, c'est assez long à faire, surtout la première fois, mais c'est une question d'habitude. Et puis ça permet de mieux manier les pinceaux des vernis, et donc, on pourrait presque en réussir une à main levée après quelques mois d'entraînement grâce à ma technique !
Commençons par le commencement...
Hello !
Last week, a forum member asked me a few tips to draw a nice french manicure. Of course, french manis are gorgeous, classy but also difficult, dangerous (the risk to drop polish everywhere is huge), and need lots of dexterity.
But you all don't know LE Croush, who found out, a year ago, how to draw nice french smiles (tips), whithout overflowing or having to use french tips guides. Well, it takes some time to do, but you just need to get used to it. And thank to this technic you may learn how to manage your polish brush a bit better, so why not after a few months of training with it, drawing the tips without any diffiluties ?
Let's start from the begining...
Tout d'abord, poser une fine couche de base.
Firstly, put a base coat.
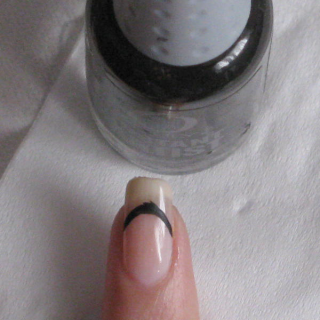
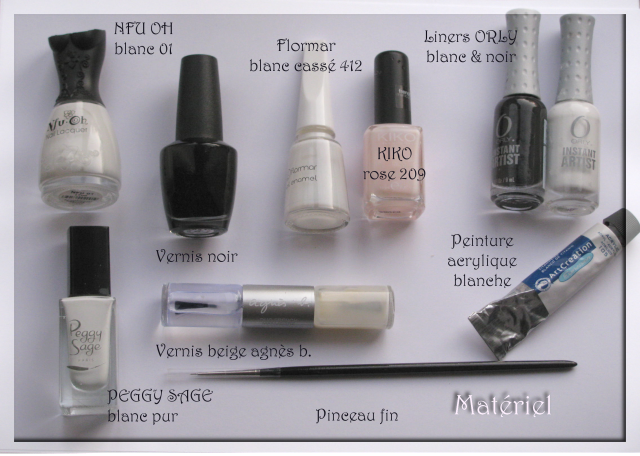
1) Dessinez votre sourire avec soit un liner acrylique, soit un pinceau fin avec peinture acrylique. Vous devez le poser légèrement en-dessous (ou au-dessus, tout dépend dans quel sens vous mettez vos doigts) de votre démarcation nauturelle, dans la couleur rose.
1) Draw the tip border with an acrylic liner or a thin brush with acrylic pant. You must put it a bit under (or above - depends on the way you put your nails when you paint) your naturel boundary between white and pink.
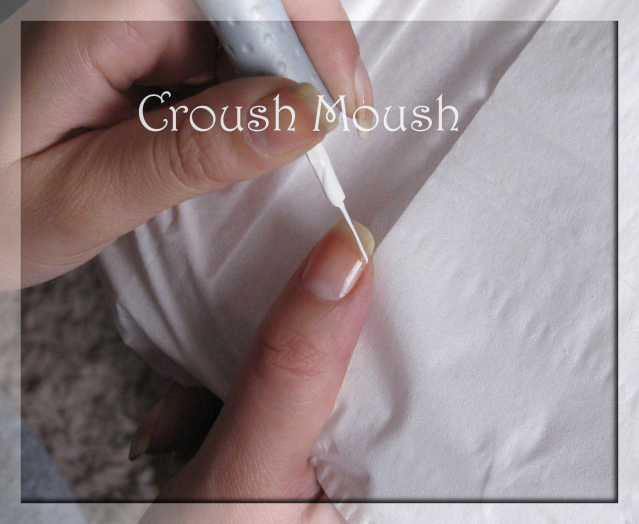

Il y a plusieurs façon de le dessiner, tout dépend de vos goûts (french au sourire peu prononcé = plus proche du naturel / french dramatic = plus artistique) et de votre dextérité (vous pouvez la dessiner comme ça, à main levée, ou utiliser des traits pour vous guider - efficace surtout pour la mauvaise main).
There is several ways to draw the tip border, it depends on your tastes (tip with a not-really-smiling tip border = more natural / dramatic smiling tip = more artistic), and on your dexterity (you can draw it in only one line, or use several lines as a guide - good when you use your other hand).
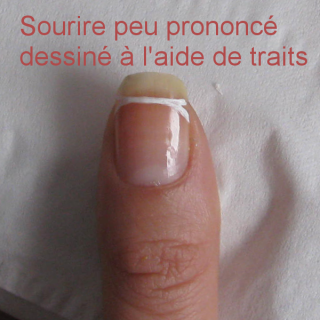
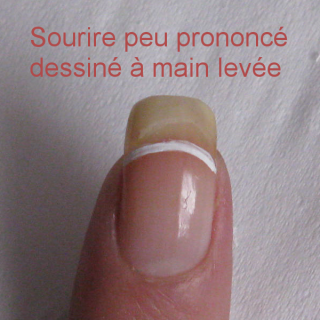
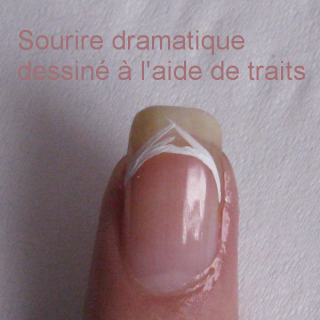
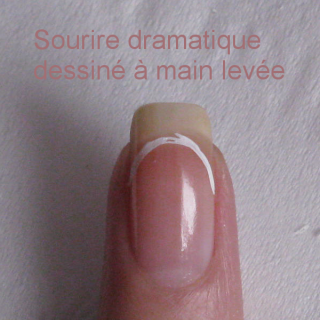
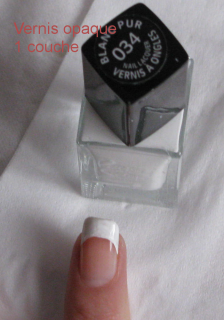
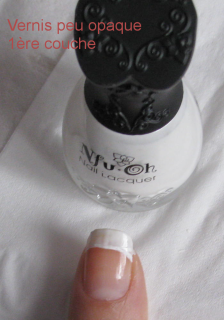
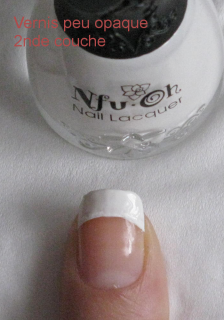
2) Remplissez le bord libre avec votre vernis blanc. Suivez bien la ligne, évitez de dépasser. Par contre, si vous ne remplissez pas assez (différence de couleur trait dessiné au liner/vernis un peu visible), ne vous inquiétez pas. L'étape suivante permettra de le "masquer".
Si votre vernis blanc est pâteux et opaque, une seule couche est nécessaire. Si celui-ci est au contraire, liquide et légèrement translucide, passez deux TRES FINES couches, en attendant bien entre chacune (10 minutes).
2) Fill the tip with your white polish. Follow well the line you drew previously, try not to overfill. But if you don't fill enough (if you can see the difference of coulours between the line and the polish), don't worry. You'll see on step 3.
If your white polish is thick and opaque, it will require only one coat. But if it is liquid and a bit transparent, put two VERY THIN coats, and wait 10 good minutes between every coat.
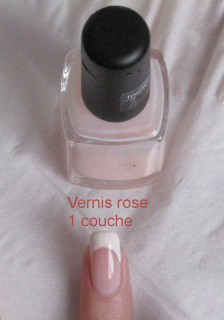
3) Attendez bien que votre vernis blanc soit sec, puis passez, sur tout l'ongle (y compris sur vos sourires blanc) votre couleur pastel. Celle-ci améliorera la couleur de l'ongle, dissimulera les petites imperfections de votre sourire, rendra plus harmonieuse votre pose, et surtout évitera l'effet Typ-ex des french faites avec le pastel avant le sourire !
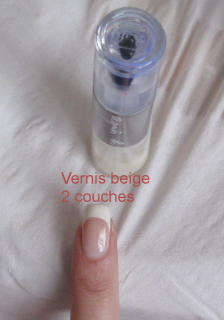
Si votre vernis pastel est rose ou beige normal, je vous conseille une seule couche. S'il est beige très clair ou blanc cassé, deux (voire trois pour un effet "faux ongle" l'été). Attendez bien que ça sèche entre chaque couche (au risque de voir votre sourire se déformer).
3) Wait until your tip is well dry, then paint your WHOLE nail with your pastel polish. It will make your nail colour look better and harmonious, hide the iperfections of your drawn tip, and of course will make you avoid the Typex effect that lots of other french manis give.
If your pastel polish is pink or normal beige, I would advice only once coat. If it's bright beige or raw, two coats (even three in the summer for a "fake nails effect).
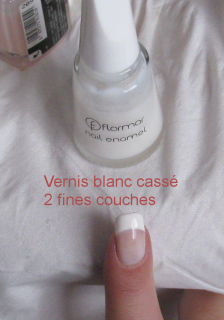
4) Décos + top coat
4) Decorations + top coat
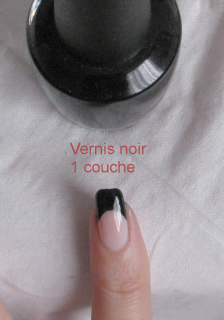
Pour une french noire, il faut mettre le vernis pastel avant de dessiner le sourire puis suivre les étapes 1 et 2. Pour d'autres couleurs, vous pouvez essayer de mélanger votre peinture acrylique pour obtenir une couleur similaire au vernis. Ou sinon, vous faites comme moi, les bons vieux guides :D
For a black french tip, you have to put the pastel polish first then follow the steps 1 and 2. For other coloured french tips, you can mix your acrylic paint in order to create a colour similar to your polish. Or you do like me, you can use the good ol' french tip guides in those cases :D
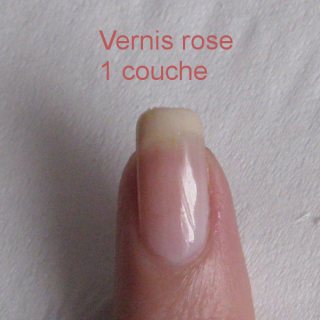
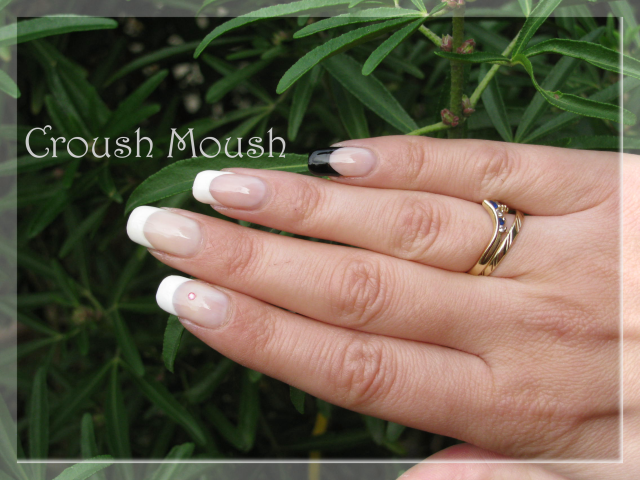
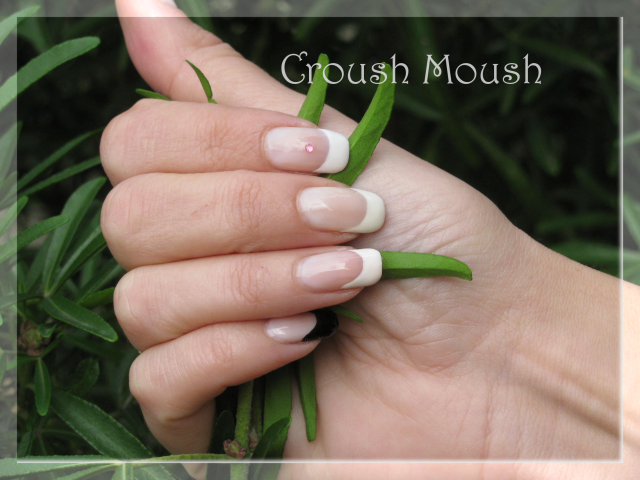
Et voici ma magnifique main (ne rigolez pas je sors avec ce soir, en plus avec une main gauche rose bonbon - voir mon article demain) :D
And here is my wonderful hand (don't laugh at me, I will go out like that tonight, moreover my left hand is Barbie-like pink - you'll see in my next article) :D
J'espère que je vous ai aidées :)
I hope I helped you out :)

